Peeling exterior trim can make otherwise serviceable windows look neglected. Covering sound wood can reduce repainting, but the material and drainage details determine whether the improvement lasts.
The term vinyl window wrapping can describe trim capping or an adhesive finish applied to a frame. These approaches serve different purposes. Choosing between them starts with identifying what needs protection or repair.
What is a window wrap?
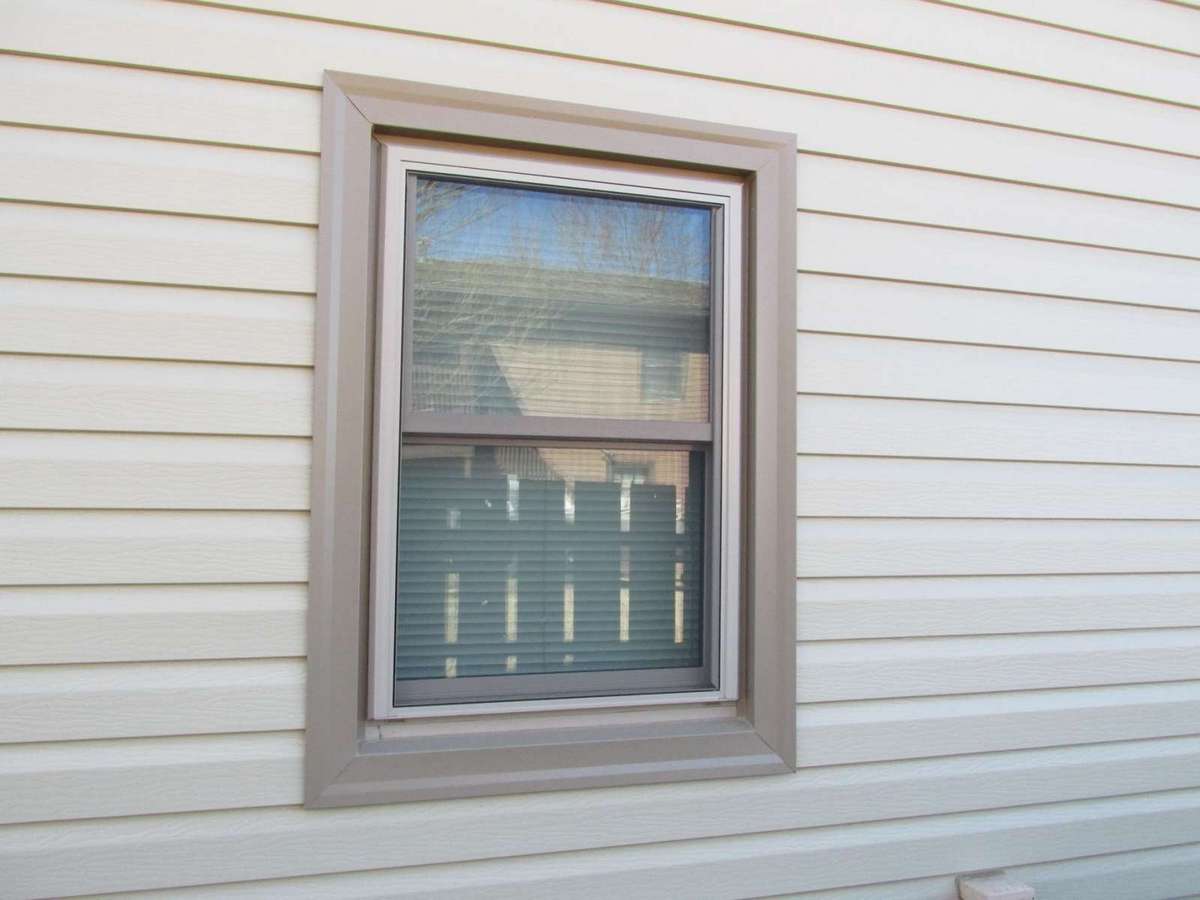
Exterior trim capping covers exposed casing, brickmold, or sill surfaces around an opening. It normally leaves the glass and operating parts unchanged.
The main distinction is between a cover over surrounding trim and a film on the frame itself. Neither repairs-deteriorated wood. Neither replaces concealed flashing that directs water out of the wall.
If you are wondering, what are window wraps, ask the installer to identify the material and the surfaces included. Contractors may use the same term for different products. A written scope should distinguish these options:
- Trim capping: Formed aluminum covers sound exterior wood and reduces its exposure to weather. Some aluminum products have a PVC coating.
- Frame film: A compatible exterior adhesive finish changes the appearance of an approved frame surface. It does not provide structural reinforcement.

Construction crews also use flashing tapes around openings. Those concealed water management products perform a different job from decorative trim covers. Ask which component a quote describes before comparing prices.
Benefits of wrapping vinyl windows
A vinyl window may still have wooden exterior casing that needs upkeep. Covering that casing can reduce maintenance even when the window itself needs no work.
The main benefit of wrapping vinyl windows is usually protecting surrounding wood trim or updating an approved surface finish. Results depend on the existing condition and installation quality. Practical advantages include:
- Reduced painting: Factory finishes reduce the need to repaint covered wood. Cleaning and joint inspections remain necessary.
- Cleaner appearance: Matching trim profiles and colors can make repaired openings look consistent. Check samples beside the siding before ordering.
- Weather exposure reduction: Properly detailed covers shed rain away from exposed trim. Flashing and drainage must still function behind them.
- Easier cleaning: Many finished surfaces accept mild detergent and water. Follow the product instructions for cleaners and tools.
Capping alone adds little insulation and cannot correct failed glass seals. Draft reduction requires attention to actual air leakage paths, including gaps behind trim and worn weatherstripping.
Materials for vinyl window wrapping and capping
Material names matter because similar looking finishes can have different cores. Ask whether the proposal specifies coated metal, PVC boards, or adhesive film.
When discussing capping windows with vinyl, confirm whether vinyl describes the coating or the entire trim component. That distinction affects installation, repair options, and the finished profile. Ask to see the product label alongside a completed sample. Keep the specification with your estimate so a substitution cannot quietly change the agreed material. Check that the sample suits your existing exterior casing before ordering materials for the entire house.
PVC-coated aluminum trim coil
This product combines an aluminum sheet with a factory PVC finish. Installers shape the metal with a brake, a tool that produces controlled bends along the sheet.
The coating provides a finished surface, while the metal holds the profile. Other aluminum coils use painted finishes instead. Compare the specified product, thickness, color, and warranty rather than assuming all rolls perform alike.
Thin metal can dent when struck by ladders or debris. Detailed moldings may also lose definition beneath simplified bends, so inspect a sample corner before approving the work.
Solid cellular PVC trim boards
Cellular PVC boards are cut and fastened like trim lumber. They are not bent on a metal brake, and they often replace deteriorated casing rather than form a thin cover over it.
PVC resists moisture damage but can still scratch, move with temperature changes, or suffer impact damage. Fastener placement, joint treatment, and expansion allowances must follow the specific manufacturer’s instructions.
Architectural exterior vinyl films
A vinyl wrap window frame finish uses an adhesive film approved for the particular substrate and exterior exposure. Factory laminated profiles and films applied during renovation are different systems. Their installation requirements and warranties should not be treated as interchangeable.
Confirm compatibility with the window manufacturer before changing the finish. Dark colors need particular attention because solar heat can affect some profiles. Specialist repair films may require trained installers and are not equivalent to general decorative adhesive sheets.
How to wrap a window
The following process describes metal trim capping over sound wood. PVC board installation and adhesive film application require separate instructions.
Anyone researching how to wrap window trim should first establish where rainwater enters and exits the assembly. Visible sealant cannot compensate for faulty concealed flashing. Difficult access or uncertain leak paths warrant professional assessment before work begins.
Inspect and prepare the existing frame
Check the sill, lower corners, casing, and adjacent siding for softness, staining, or loose sections. Identify and correct the moisture source before replacing damaged wood. Let the repaired assembly dry before covering it.
Remove loose material and failed sealant as appropriate for the surface. Avoid unnecessary disturbance of older painted finishes. Homes built before 1978 may require lead paint precautions during preparation.
Measure the window opening profiles
Before cutting material to wrap around windows, measure each opening individually, including trim depth, sill projection, and corner details. Similar windows can have different dimensions after previous repairs.
Sketch the proposed bends and overlaps. Use allowances appropriate to the product and installation detail, rather than adding a universal 0.5 in. to every piece. Confirm that the finished cover will clear screens, hardware, and moving sashes.
Cut and bend the trim coil
Cut the coil using tools and methods suitable for its thickness and finish. Protect the coating from scratches during handling. Form the bends on a brake and check the fit before fastening.
Maintain the sill’s outward slope and provide the required drip detail. A cover should direct runoff away from the wall. Flat pockets or poorly formed corners can retain water instead.
Fasten the wrap pieces in proper order
Understanding what is window wrap involves more than identifying the material: its pieces must overlap according to the approved assembly detail so upper components shed water over lower components. A common installation sequence is:
- Sill installation: Fit the lower cover while preserving the specified drainage route and outward slope.
- Side installation: Position the side pieces to overlap the lower detail and direct runoff outward.
- Head installation: Fit the upper piece and coordinate it with the existing head flashing and wall drainage layer.
Use compatible fasteners at the specified locations and spacing. Fasten securely without distorting the metal or preventing required movement. Do not drill into the window frame unless its installation instructions permit it.
Seal all perimeter joints with caulk
Seal all joints designated for sealant in the installation detail. This does not mean sealing every visible gap: weep holes and intended drainage outlets must remain open.
Choose a sealant compatible with the coating, siding, and frame. Follow its requirements for clean surfaces, joint dimensions, application temperature, and curing. There is no universal rule to caulk or leave open the entire bottom edge of every assembly.
Check the finished corners and confirm that the window opens, closes, and locks. Remove offcuts and fasteners from the work area. Photograph the completed details for future maintenance.
Exterior window wrap: what to consider
Start with the condition of the opening and the way its wall sheds water. The visible trim is only part of that assembly.
A suitable exterior window wrap must work with existing flashing, siding clearances, and drainage outlets. Covering recurring stains without investigating them can conceal an unresolved leak. Review these factors before choosing a finish:
- Moisture history: Tell the installer about leaks, damp interior trim, and previous repairs. Problems appearing during wind driven rain deserve investigation.
- Sun exposure: Confirm that the chosen color is approved for the substrate. Heat reflecting pigments do not make every dark finish suitable.
- Architectural details: Check whether the cover will hide decorative profiles or obstruct removable components. Verify applicable historic district requirements before altering original trim.
- Warranty terms: Ask how aftermarket coatings or attachments affect existing coverage. Obtain written product compatibility information where available.
When comparing wraps for windows, request a sample showing the sill and corner treatment. A flat color swatch cannot show how the installer handles joints. In Vancouver and Portland, pay particular attention to rain exposure and the condition of adjacent siding.